
Department of Mathematics and Computer Science
Working with Graphics: In EmTeX
In EmTeX, I like to use the picture environment to insert graphics in wmf format. The picture environment enables me to provide the vertical space necessary for the graphic and sets a coordinate system which can be used to position the graphic at exactly the right place. In the example given below, the command \begin{picture}(20,150) allocates a rectangular space 20 points wide and 150 points tall for a picture. The origin of the coordinate system is at the lower left corner of this rectangular space. Since I start a new paragraph before and after the picture environment, and since one can put things outside this rectangular space, the effect of defining this environment is to leave 150 points of vertical space in which to put my graphic. The fact that the width of the space was declared to be 20 has no effect and does not constrain anything I want to do. The command \put(20,140) specifies that the upper left corner of my graphic should be put at the point (20, 140), thus leaving a 10-point margin at the top and 20-point margin on the left of the graphic. If I had wanted the graphic to be more centered, I would have used \put(110,140) instead. If you prefer the coordinate system to be in different units, you can change it, for example, to inches by giving the command \setlength{\unitlength}{1in} in the preamble or at least before the picture environment.
A \special command is used to actually import the graphic. In the example above "em:graph" is the special command used to indicate that you want to read in a graphic of wmf format. The name of the file is "ceva.wmf". In the example the suffix was omitted, but you can specify it if you wish. Following that the width and height of the graphic are specified. You can stretch or shrink the graphic to any convenient size, but of course, the quality is best if you specify the actual size of the graphic. Here is the typeset document which results from the above LaTeX text.

If you want to put text beside a graphic, then use the picture environment to allocate the vertical space needed, compose your text in a minipage (or your favorite kind of box), and then put the minipage and graphic wherever you want them using the coordinate system given by the picture environment.
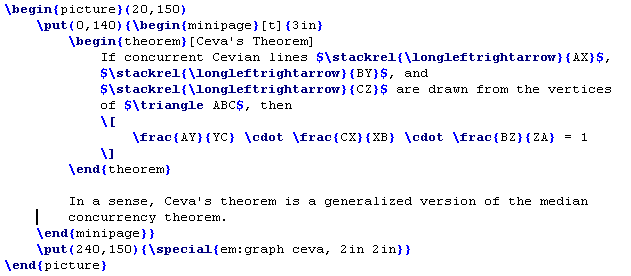
I usually don't bother to try laying out my page carefully. I just throw in approximate coordinates, see how it comes out, and then adjust the coordinates until it finally comes out the way I want it. Here is the typeset document which results from the above LaTeX text.
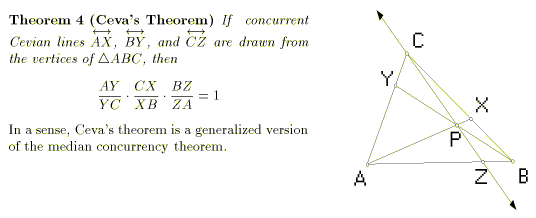
Incidentally, the graphic used in the above examples was drawn using Sketch Pad and saved as a wmf file.

| Introduction
| Obtaining Images
| WMF Format
| EPS Format
In LaTeX
| In Lotus Notes
| In PCTeX
| On Web Pages
|
Created 12/10/97. Last modified 06/09/2000. Email to ekh@wfu.edu